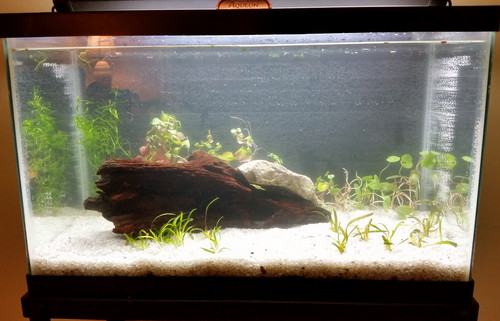
Just the sacrificial plants; cuttings of ludwigia repens and hydrocotyle, and some dwarf saggitaria that did what sag does when you ship it…turn brown. Roots are good, though. The vals looked bad, and they spread too far and fast for a 10g, so they’re in a bucket with the rest of the sag. Once the “real” plant order arrives, I’ll attach an Anubias ‘Nana’ to the driftwood  (currently weighted with a rock because that end isn’t quite waterlogged), a couple of crypts, and maybe a dwarf sword (but maybe not because it doesn’t want bright light…might stick it in a dim corner in the 55 instead). Maybe some bacopa…dunno yet. Anyway the ludwigia looks okay, pennywort is sparse, but it’s a fast grower, and if the sag perks up and spreads, it’ll make a nice “lawn”. It’s progress, at least.

image

Oh, and a few bits of duckweed, which I don’t mind because this tank has no filter, and bettas like to use floating plants to anchor buggle nesks.

Well, the start of it, at least.

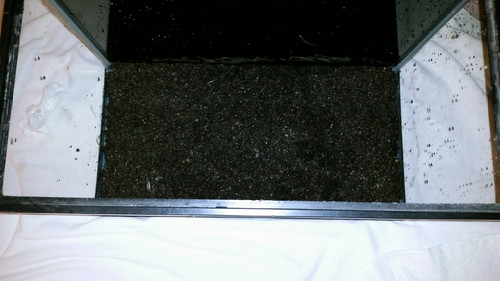
A 1″ layer of 50/50 garden soil and Organic Choice potting soil (both soaked/leached/rinsed over a period of 2+ weeks), and 25% plain clay cat litter, rinsed. I thinned it to below the trim right around the edges so it wouldn’t show.

image

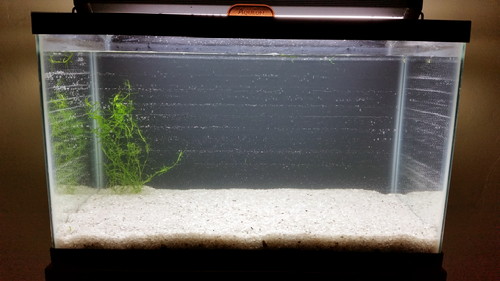
Top layer is 1″ of Caribsea “Torpedo Beach” sand. I poured the water onto a plate so I wouldn’t disturb the sand, but it’s really quite nice to work with. Didn’t take much rinsing, either. I stuck a few sprigs of najas grass in, just to see what it was like to try to plant in this stuff, and it wasn’t bad. I’ll have to be careful with rooted plants, but bunch cuttings  should be relatively easy. I ordered the “real” plants today, and have a few I ordered last week coming later this week, along with the aquarium planting tools, and a bottle of SafeStart. The water test kit arrived today. It’ll be a challenge, getting all the plants I want into such a small tank, but it’s going to be a nice home for Cliffie, I think.

image

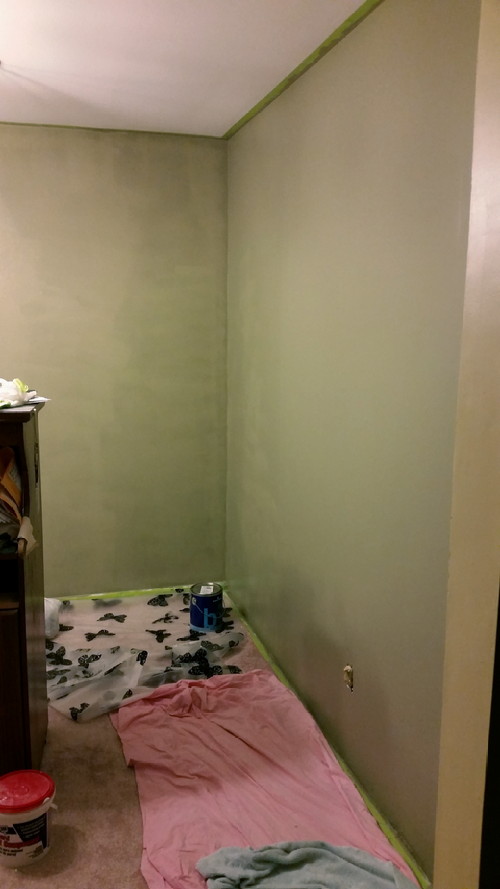
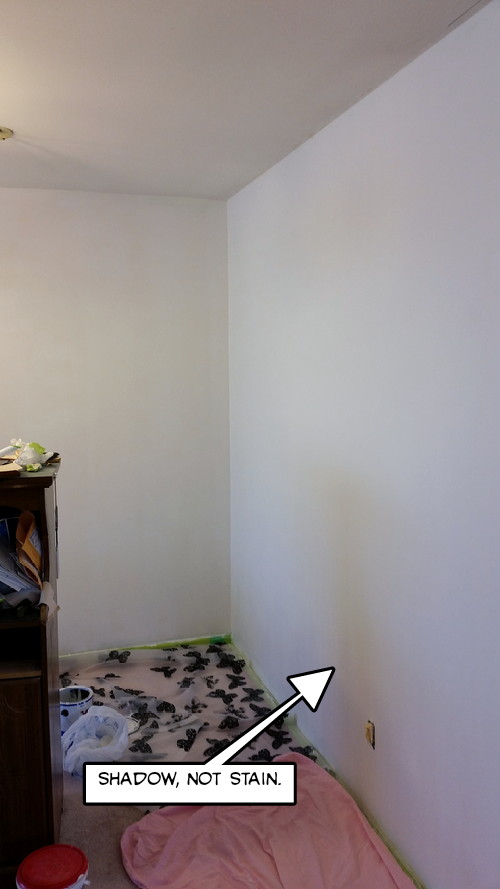
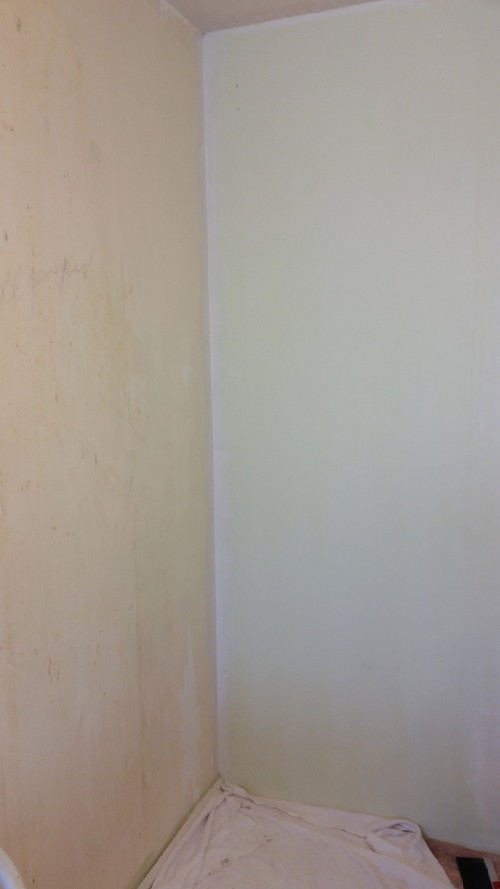
I took this when I got home because I wanted one of the colour dry. This is just the first coat I applied yesterday.
image

This is the final coat on the last of The Great Wall Project. Blotchy because it’s still wet in spots.
image

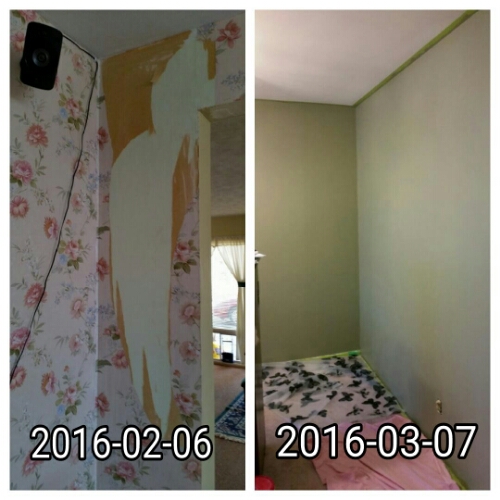
One month and one day ago, I ripped off that first small section of peach flowered wallpaper. Now, it’s all gone to the trash, replaced by beadboard and tastefully painted walls. 68 years of bad taste…eradicated by ME!
image

I also bought a ceiling light fixture for the room. Only two bulbs, and I think (maybe) I’ll paint it because it’s antique bronze, but it was a special for Prime members, and just about impossible to go wrong for nine bucks and free shipping. I just can’t find a ceiling fan I like with lights for what I’m willing to pay, so I’ll wait and keep looking.

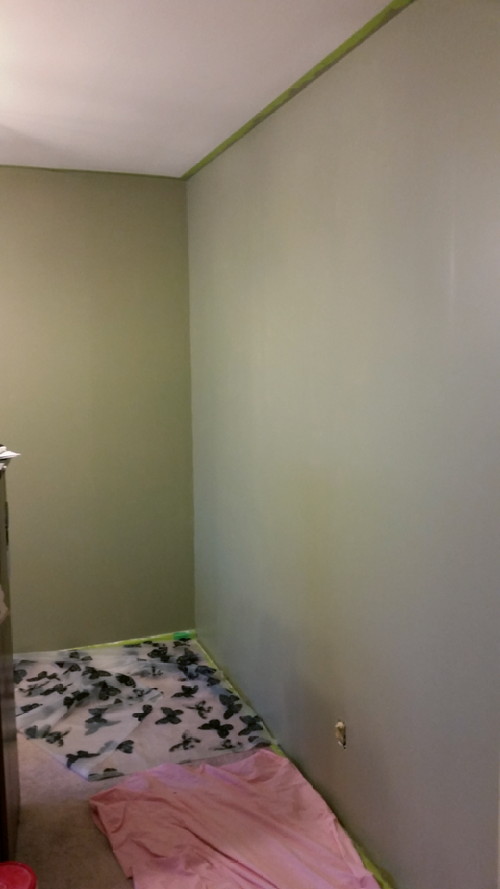
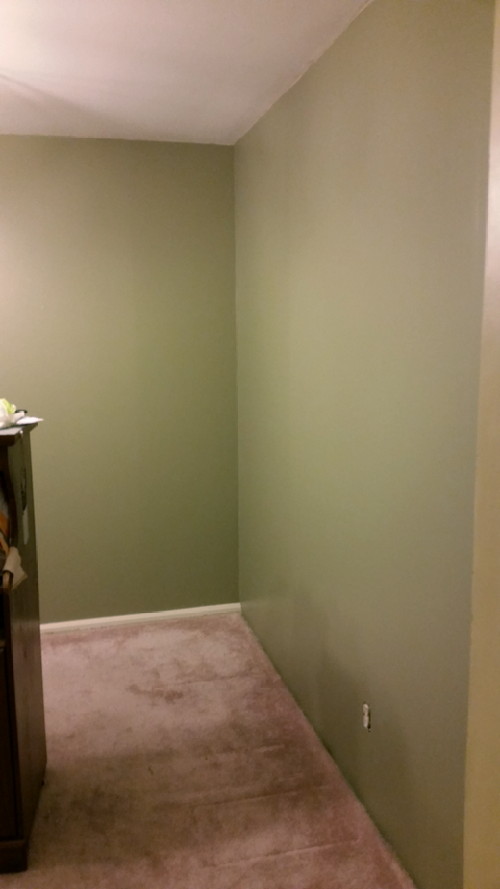
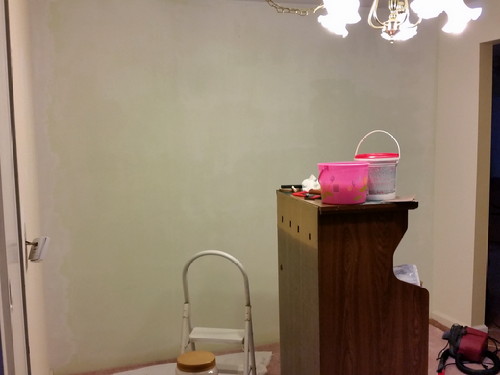
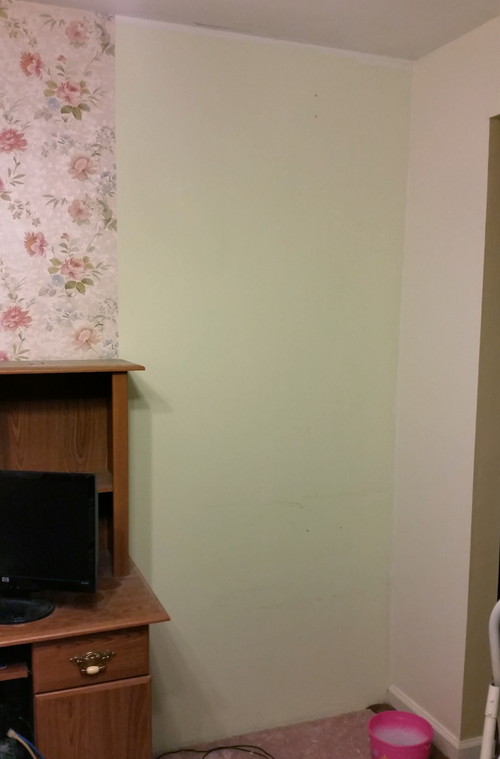
EDIT: Should’ve been showered by now, but I got Cliffie’s tank moved, and my walls were dry enough to remove the tape. Without the distraction of ugly wallpaper, I see the edges of the ceiling that need repair (paint pulled off by tape, but I didn’t do it). That’s a project for another time, though. Tanks, desk, and office cabinets next. I got high density foam rollers and disposable pans today. Anyway here are my green walls. Not perfect, but not three layers of ugly paper, either!
image

Feels more like spring, and this beautiful thing was waiting for me when I got home! There are half a dozen more almost ready, but this is the first Parview crocus.

image

I said there wasn’t a snowball’s chance in hell that I’d be able to have green walls this weekend. Everything else suffered for it, but…

First thing this morning, I sanded the wall; first with 150 grit, then with 220.

image

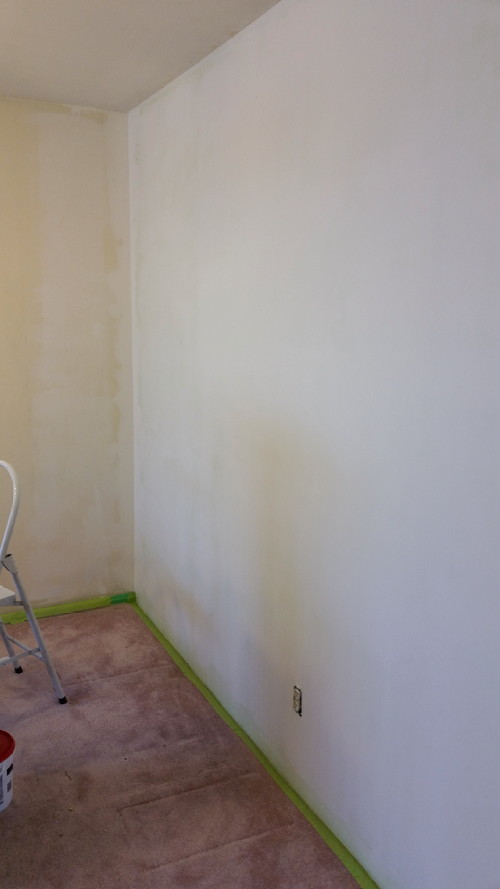
Then, I primed. I had exactly enough primer; so close that I did the bit at the inside edge of the closet with a baby sponge roller and the dregs in the can.

image

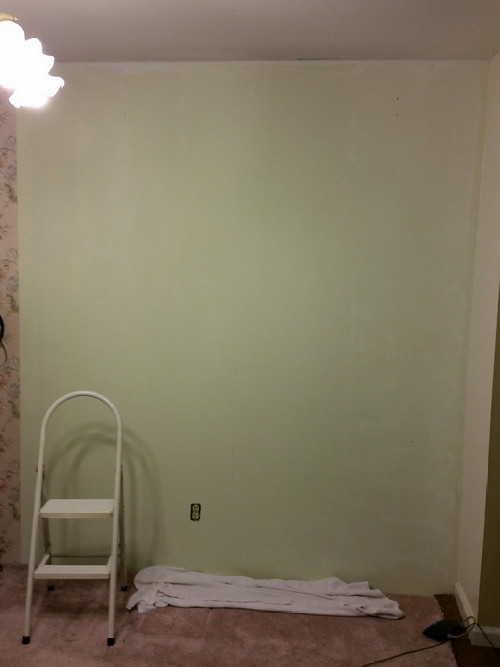
I put two fans on it hoping that it would dry fast enough to let me paint. Kilz 2 is paintable in 1h, but this is over fresh drywall compound, so I wanted to make sure. It looks blotchy because this colour is a lot lighter when it’s wet than after it dries, but I have one coat on my green wall. I love the colour; it’s icky yellowish when it’s wet, but dries to a lovely sage.

image

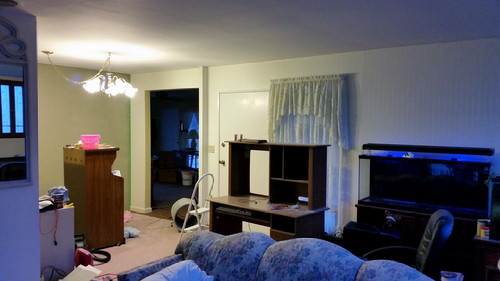
Everything is obviously out of place, but the horrible wallpaper has all been sent to the trash where it belongs, and now I have creamy white beadboard paper, transitioning to creamy white plain wall around the entrance, and then to Victorian Garden in my office. Once my desk, “printer cabinet” and actual printer stand are refinished creamy white, and I replace the gaudy gold light fixture, the rooms will be the way I want them (except the pinky-mauve carpet, but it’s in good shape and too expensive to replace when that god-awful rusty brown stuff still exists in the living room).

image

I finally did it! The peach crap is gone, the vile 70s stuff is gone, and the gaudy blue and green vintage 1948 paper is gone. All of it.

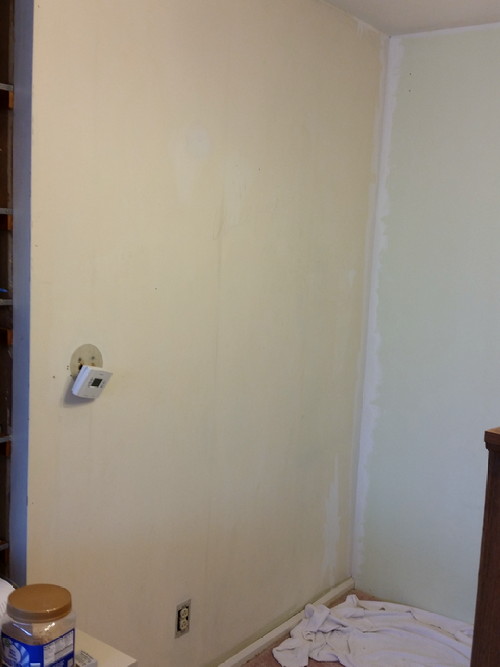
I started scraping this morning, and cleaned up the “tape and drywall compound over old paper” corner. While the corner dried, I kept scraping, and then, I taped off the corner and did a first coat over the tape.

image

Last vestiges of nasty paper.

image

All done, and washed once with dish detergent and hot water. Still needs one more wash.

image

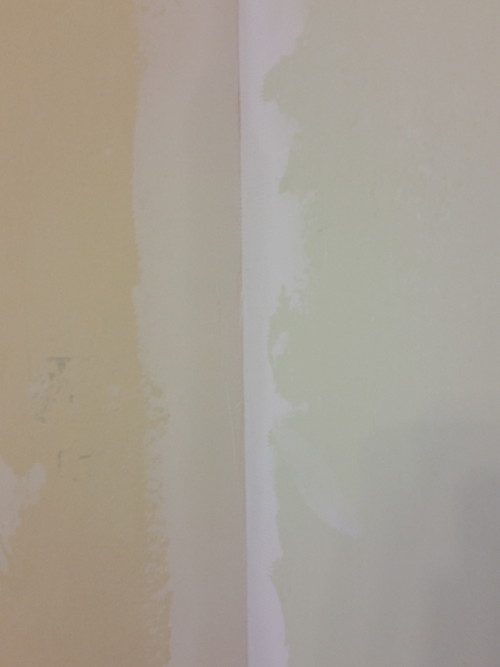
There’s a reason I’m not a professional drywall taper. The original walls in this house are nicely done. The west wall is not original, which is why the corner was such a mess; they cut the drywall too short. Since they just papered over old paper, they did the corner “repair” (sarcasm intended) atop the old paper, too. Mine is a long way from professional, but it’s better than it was…at least I removed the goddamned wallpaper.

image

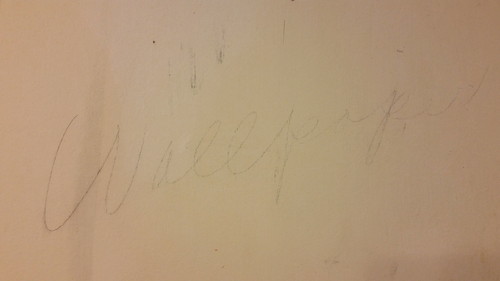
I know this wall is original 1948 because the handwriting in “Wallpaper” is the same as the north wall.

image

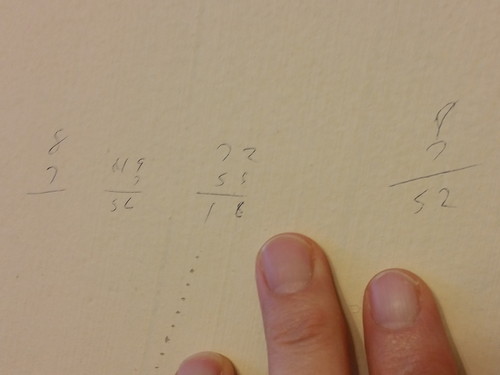
They used the wall as a scratch pad for calculations. I apparently used it as a scratch pad for a Paper Tiger. Not deep, though; it’s okay.

image

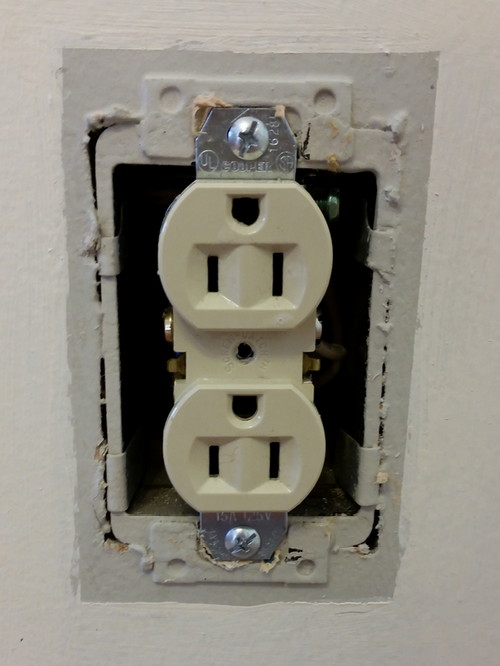
This is possibly the neatest outlet I’ve ever seen! I’m almost sorry to have to cover it.

image

LATER: A second go at the corner, and another skim coat that will be my last if possible, and my second last if not possible.
image

EVEN LATER: I did one more skim coat. Tomorrow, I’ll either run over it with 220 sandpaper, or a barely damp sponge to smooth it. Don’t care…I want to prime these goddamned walls!

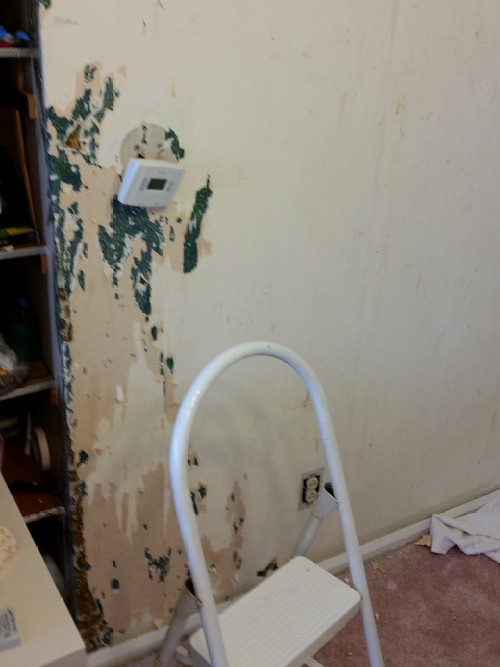
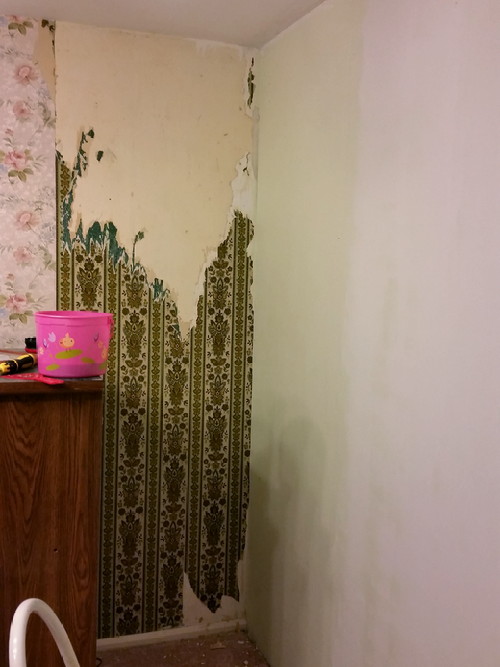
I half-emptied the “printer cabinet” (which has not housed a printer in many years) as soon as I’d started laundry, so I was able to move it. The rest of the peach paper came off the west wall easily, but then I started on the south wall’s triple decker nightmare. I didn’t get out the steamer tonight, but I will tomorrow. This shit is coming off in tiny pieces, and on top of that, some fuckface “repaired” the corner with drywall compound and paint…OVER THE BOTTOM LAYER OF FUCKING WALLPAPER! I’ll get this goddamned crap off if it kills me, but it’s slow going. I got my paint today (went with eggshell over flat), but there’s not a snowball’s chance in hell that I’ll get to apply any this weekend. I also got more drywall compound, and that was good because the wall under this fucking mess is definitely going to need work. I wish I could hunt down the dumb bastards that half-assed these walls, and kick them right in the crotch. Every last one.

image

I moved my desk and stripped two more sections, then washed off the paste. I was going to leave it, but then got thinking about skim coating with a roller, thinned drywall compound, and a squeegee…and decided to give it a shot. I did only one (vertical) coat, and that wall is pretty rough, but I think it’s going to work, and with a HELL of a lot less sanding. I think it’ll probably take three coats, but each one is so thin that it dries quickly, so it won’t add much time to the job, and it’ll look much better than just crossing my fingers and slapping on a couple of coats of paint.

image

Once I’m finished this wall, there’s just the short section on the south side, which (unfortunately) I already know has the three-layered nightmare on it. Thankfully, it’ll be the last section, so there’s light at the end of the tunnel!

I also got no odour oil-based Kilz. I probably should have got the original, but I may end up doing my desk indoors, and oil paint fumes would probably kill me. When my desk will actually be done, I don’t know. Depends upon the weather.

After I finally coughed up for the expensive pond plant pot…Amazon shipped this, which is the $2.99 8″ pot I already bought six times over.

image

Fortunately, their customer service is still good, so they said keep this one, and the right one will arrive on Friday. This order has been cursed right from go. I did get the landscape fabric for lining pots, and fish food, and belts for my sander…those were right.

I tried to resist, but those awful flowers are keeping me from fully enjoying The Wall: Chapter One. I got two strips off, then had to start cleaning off my desk in preparation for moving it…assuming I can move it by myself. We’ll see. Anyway, I got a little bit of it stripped, and the wall washed. It’s going to need a skim coat, though. I actually thought this was painted (mint green–blech) paneling, but it’s just the second-worst drywall job ever. The first being in my bathroom. Whatever it is, it’s getting a skim coat, and then being painted Victorian Garden (I think). I’ll go with flat because it’s not humid in my office, and flat will hide the half-assed drywall finishing job I’m about to do. Better my half-assed job than their, “Fuck it–slap on the wallpaper” job, though!

image

I’m still waffling a bit, but I’m leaning toward Victorian Garden; I think it’s the better choice for the carpet, and less bold. I have enough “bold” in my bathroom. 😀 God, that “not pink, not lavender, not dove grey, but all three” colour is a bitch to work with, though!

image

P.S. I found these fibers stuck under the wallpaper near the floor. Remnants of…rust shag carpet. That explains the shite paint job on the baseboard; they were trying to work around this stuff. I’m imagining this, paired with the green/brown wallpaper that was under the pink stuff. Even for the 70s, that’s uuuuuuugly!
image

P.P.S. I want a ladder shelf for the corner by the 55g, but I guess I’ll have to build one myself because the cheapest I can find is $50, and that’s Walmart-grade laminate. A good one will be at least $150, and then I’d still have to strip and paint it because I want it to be Creekside Green.

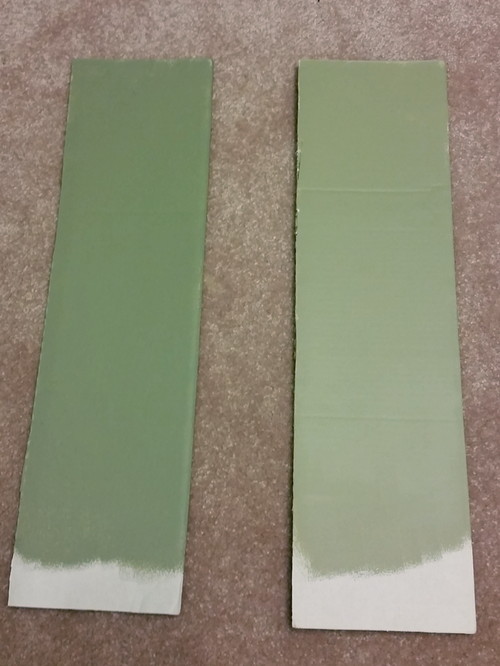
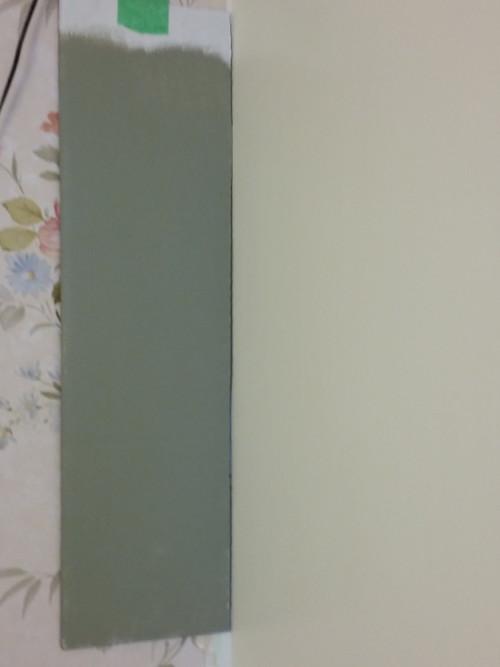
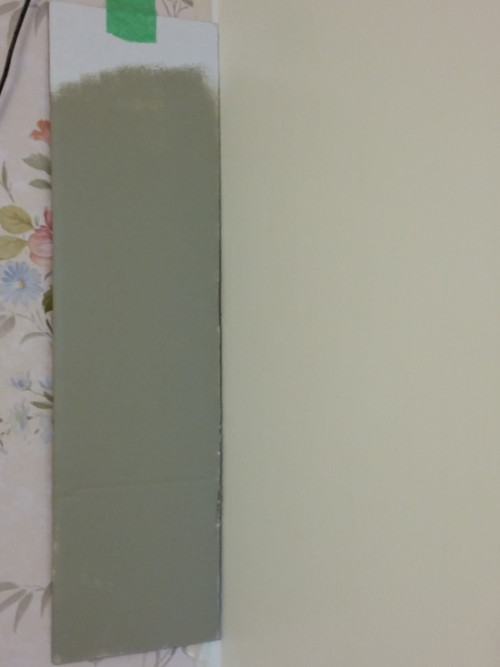
I stumbled across another potential paint colour for my office…Creekside Green. I got a couple of pint samples to see whether I liked that better than Victorian Garden. I painted a couple of pieces of white corrugated to get a better look because chips are much too small.

image

image

I think I will go with Victorian Garden, but I’m not 100% sure; Creekside Green is really nice. Maybe I could use that on a corner shelf over by the 55g. A pint would be enough to do that. I dunno.

image

image