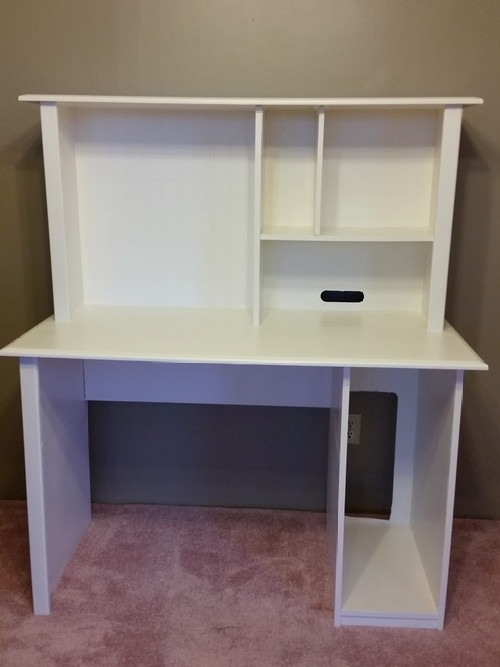
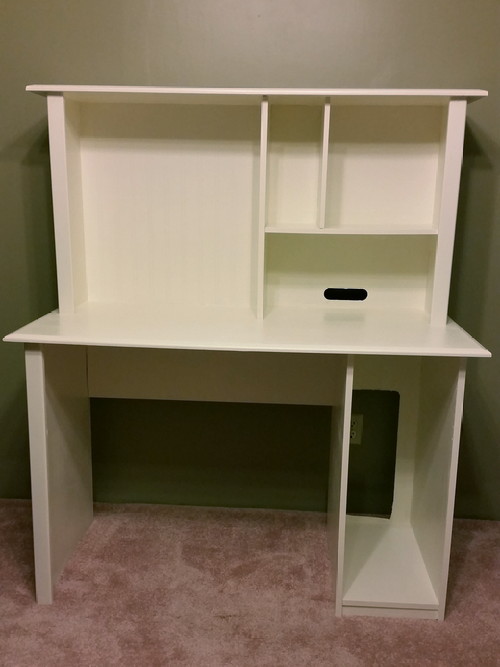
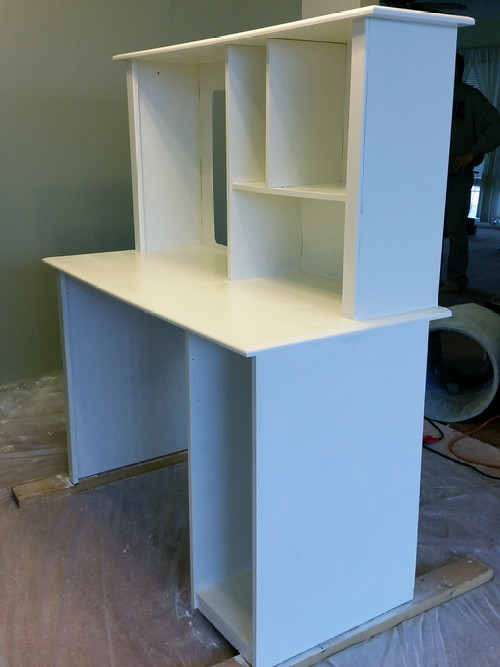
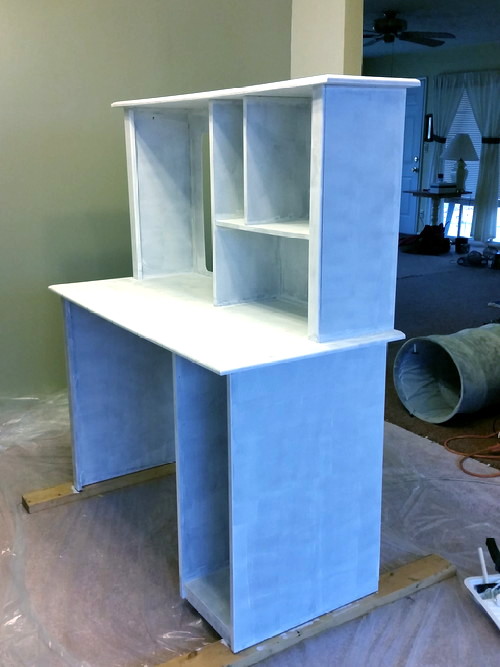
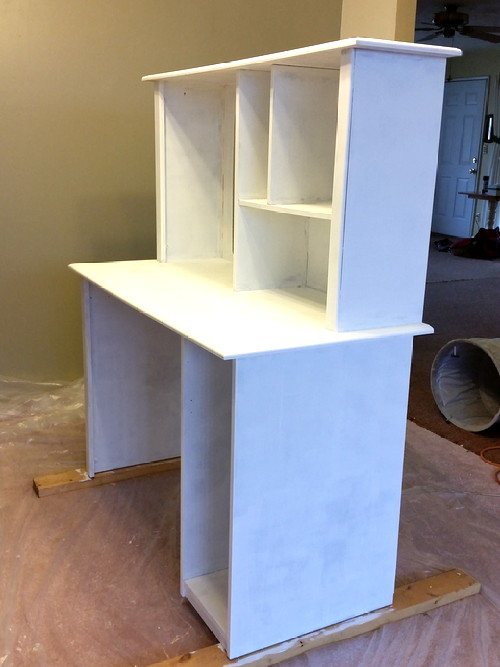
I haven’t taken many pictures because I’m so sick of painting, and also because it looked almost embarrassingly bad when I started, but I’m making progress on Phase Two of the Great Office Furniture Reclamation. I ought to be…it took me all goddamned weekend. The worst is over, though; the desk and cabinet are basically done except for the clear coat, and the last cabinet is the small one that will be an actual printer cabinet.

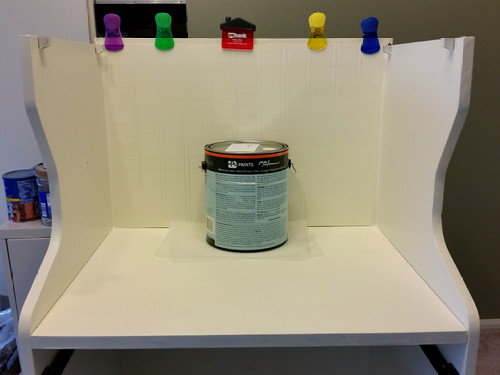
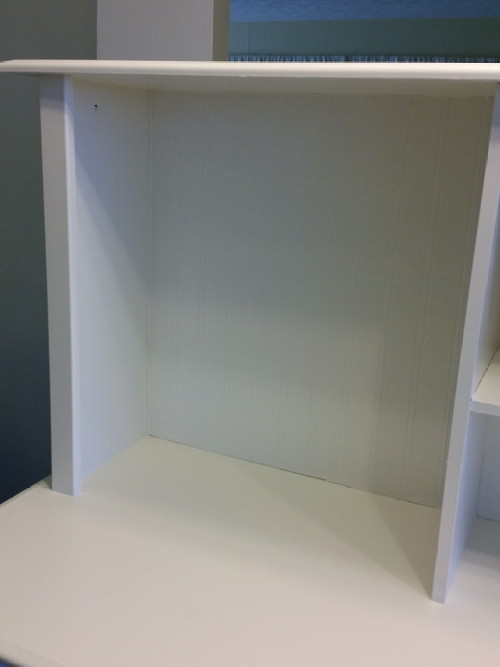
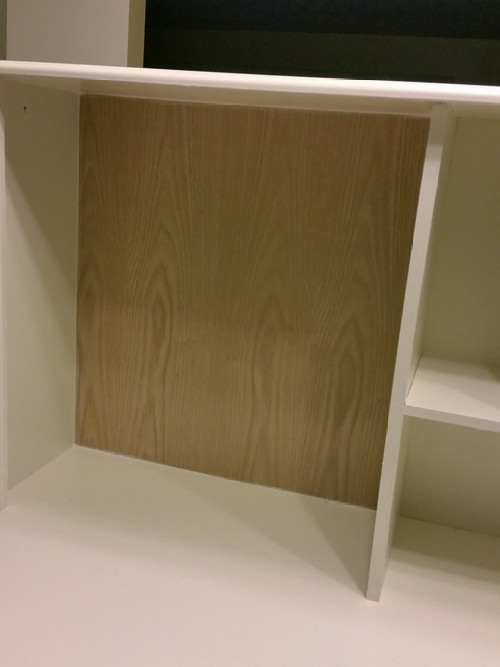
I ended up practically dismantling the “printer cabinet”, and since the surfaces were so bad, I did a lot more sanding (read: I actually sanded) than I did with the desk. I may regret my lazy non-desk-sanding, but that’s for another time. Anyway, I sanded, primed and painted, and since I had leftovers from the “scrap” piece I got to cover the CRT knockout on my desk, I put beadboard paper on the back of the cabinet as well. I’d cut the piece of plywood the same size as the back panel, and actually had the Gorilla Glue on the back when I realised it needed to be 5/8” shorter to allow for the top to sit in place. Once I had it all in place and it had partially dried, I took off the clamps to test fit the top…which was then 1/8” too long on one side. Turns out you can cut ¼” plywood with a small snap-blade knife, if there’s no other way! I re-glued, caulked, and re-clamped, and left it overnight. I took off the clamps this morning, but didn’t have time to take a picture. The can of paint is there to push against the bottom of the back panel. I’d got a small sheet of silicone, but didn’t really have a use for it…until I needed something to put under the paint can that wouldn’t stick to the mostly-dry paint!

image

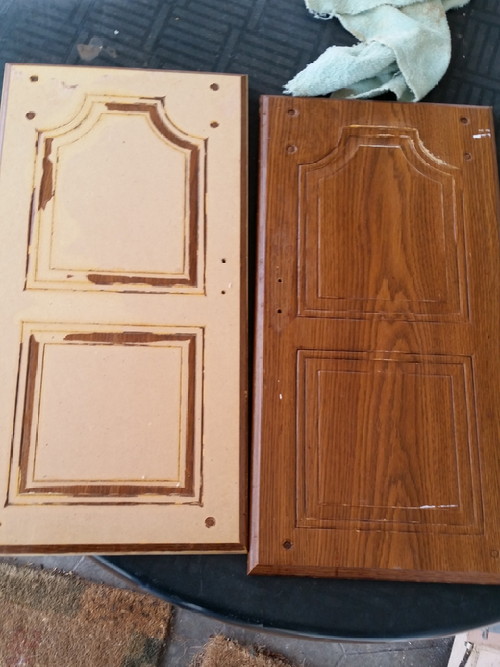
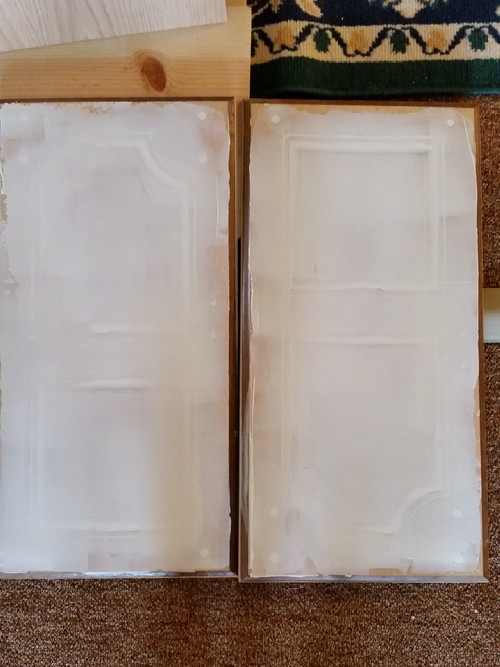
From our “just crazy enough that it might work” department…I decided to try to salvage the doors after all. I’d bought a board to make new ones, but then I had an idea. What if I belt-sanded the doors, then used a combination of drywall compound and oil-based primer to just make them smooth? I’m still not finished, but after two coats, they look pretty good, and it just might work after all. I should’ve primed right after sanding, but I didn’t, so there was some bleeding. Primer covered it, though. Anyway…

Left is fresh from a date with a belt sander and then a palm sander with 50-grit paper. Right is the way it came off the cabinet.

image

After the first coat of drywall compound.
image

These were neatly tucked in when I hung them this morning. It looks like they were tested and not found wanting!

image

image

image

I only managed to plant six because I’m dog-tired and doing laundry, but the taro bulbs are starting to sprout, so I’d best do something with them soon!

image

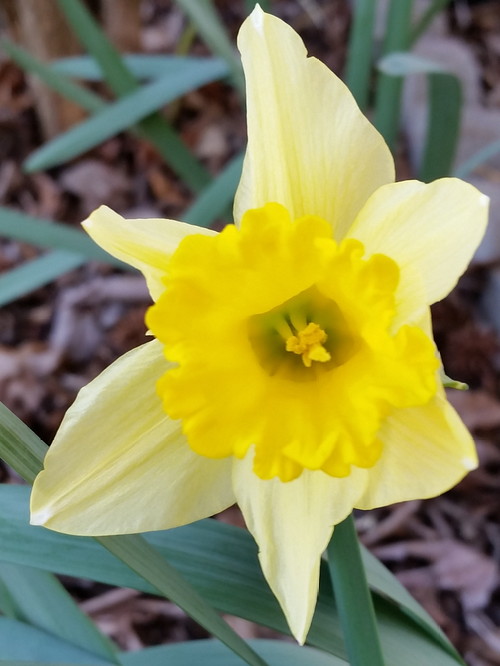
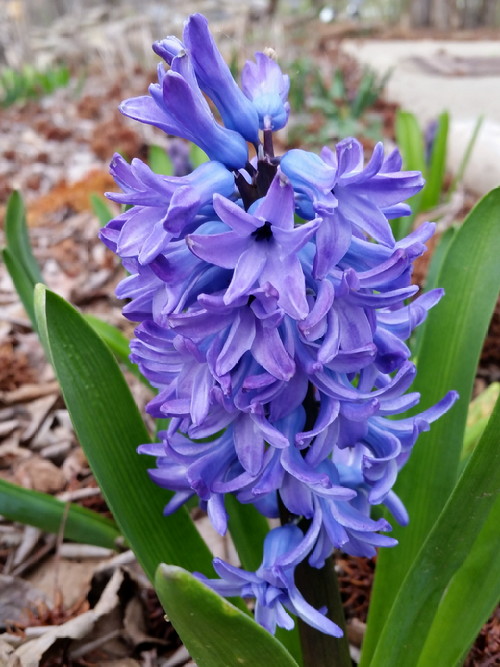
This is the most fully opened of three, but I’ll take spring flowers however I can get them!
image

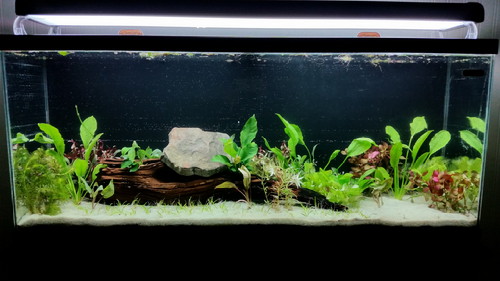
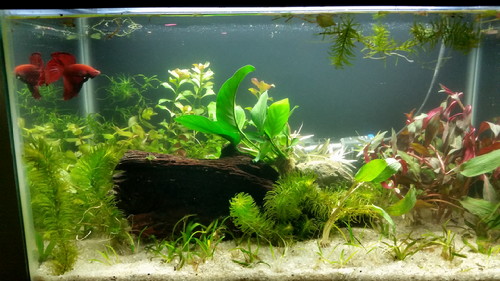
They’re both done. Still have rocks holding the wood down because it’s not quite waterlogged yet, but all of the plants that are going in are in. I have some dwarf sag left, but nowhere to put it. It wasn’t expensive, though, and I put all I wanted in both tanks. The 55 is nice and clear…for now.

image

Bacopa Cabana has tannin-stained water now, but Cliffie doesn’t care. He didn’t like the spot where I’d moved his old tank, and he was skittish, so P put him in his house after I’d tested the water, and I put in a tablespoon of SafeStart. He was too busy exploring to eat, but he seems fine.

image

God, what a lot of work. I took the afternoon off, and I’m glad I did because it took me almost 7h to get those plants in!

Well,  kind of almost. I have the beadboard paper on. I ended up brushing white glue onto the wood and applying the paper dry. That snot paste would’ve taken ages to dry and got all over everything. I think this small piece will forgive me.

image

I waited a bit to let it dry some, then caulked the edges. I also caulked a few areas where there were narrow gaps that hadn’t shown when the desk was darker, but did after it was painted. I might paint it tonight; I should wait until tomorrow, but I’ll have aquarium plants to deal with then. Dunno. Anyway, I hauled it roughly into position, and once it has a door, drawer, and keyboard shelf, it’ll look the way I want. It’s not bad, even now.

image

There. I did one coat of paint. Maybe should’ve waited, but go big or stay home!
image

I’m sick of this thing, but I got 1/4″ plywood to cover the CRT knockout in the back. Kind of a bitch to install (nothing really solid to attach it to), and I made one small scrape in the paint (fixed it) but it’s in,  and once the glue dries, I’ll put the beadboard paper on…with Gorilla Glue. Heh.

image

I don’t know whether this is one I planted or the one the old lady left that I divided (the latter, maybe), but it’s the first!

image

I wavered for a while this morning, thinking I would use oil paint instead of latex and acrylic top coat, but calls to Buchheit and ACE made up my mind because neither sells oil base paint that can be tinted. Oil is almost phased out,  but I’d hoped they’d have some low VOC version. They didn’t, so latex it is!

I’m sick to death of painting this desk, but it’s done except for one more coat on the keyboard tray, the door,  and the drawer front. I’m thinking I should leave it a week or so before applying a top coat. Latex dries in a few hours, but takes 30 days to fully cure. I can’t wait that long, but I can give it a week. I’ll use the week to work on the nightmare that is the “printer cabinet”. I pulled the green crap off the top of it, and if only they’d left it off, I wouldn’t have to deal with damaged finish. I’d always thought it was there to cover damage, but nope…just caused it. Anyway, my desk is painted,  and that’s about all I’ve accomplished today.

image

On Friday night, I fell asleep in front of Netflix, and woke up at 2200h. Instead of having the good sense to shower and get in bed, I took the hardware off my desk and cleaned it with strong ammonia and hot water. I’d wiped it down when we moved here,  but just cleanser, so there was a surprising amount of cigarette smoke still on it. Ammonia made short work of that!

I started fairly early yesterday morning with primer. A pain in the arse with all the crevices and the fact that I hadn’t sanded, but I paid extra for oil-based primer so I could get away with that! First coat of primer.

image

I let that dry for a couple of hours, then put on a second coat.

image

I decided upon latex paint and clear coat because I can’t move this bitch outside to paint, and it’s raining anyway. It’s not like my desk gets a lot of abuse anyway. I might regret my decision, but that’s what I’m doing.

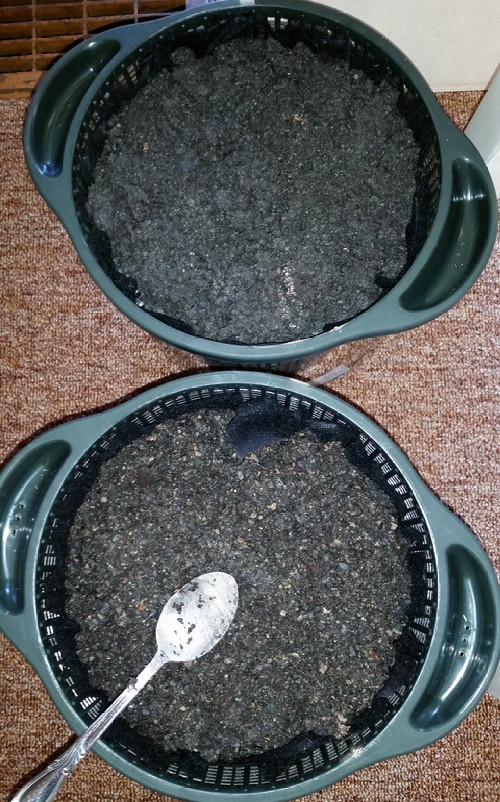
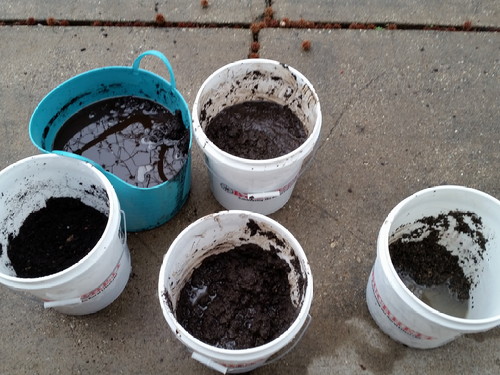
I expect the plants for the 55 to arrive some time this week, so I got the soil mixed and put into the tank. Mud pies!

image

I didn’t put the sand in yet because I’ll need to dig to plant the crypts and swords, and that’ll muddy the water and the sand, which is nearly white. I think I’m going to try partially burying the roots, then put down the sand. I dunno yet. I didn’t take a photo of the tank because it was dark when I finished, and it’s a glass box with two inches of black mud in it.

As soon as I finish my coffee, I’m going in to lightly sand the primer on my desk and put on a coat of the same creamy white paint that I have in my bathroom and on the wall by the tank. I hope it works!

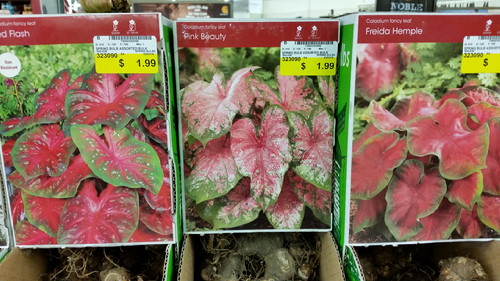
The caladium bulbs I got at Buchheit weren’t individually labeled, but on Friday,  I remembered to take a photo. Red Flash is the sun-tolerant one; Pink Beauty and Freida Hemple are regular shade-lovers.

image

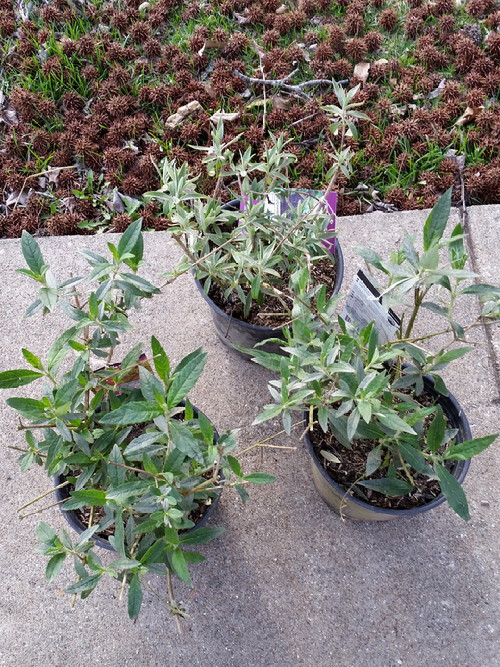
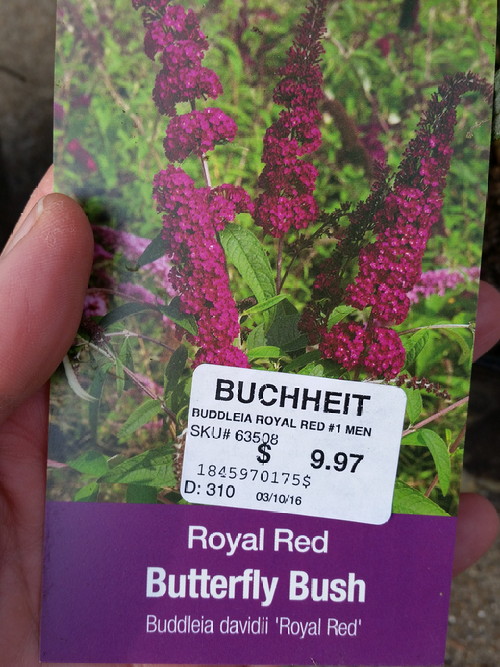
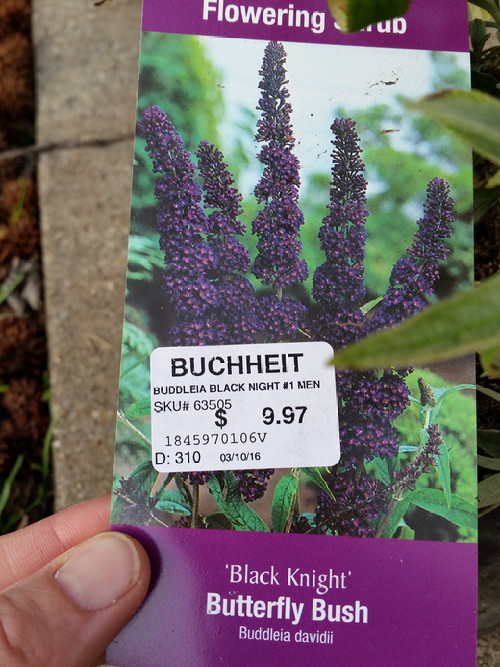
I got to the flutter-guy bushes before they even had tags on them. Two Royal Red, and one Black Knight. I went back after work to get the last Black Knight, but it was already gone. Good thing I grabbed the ones I got without any hesitation!

image

image

image

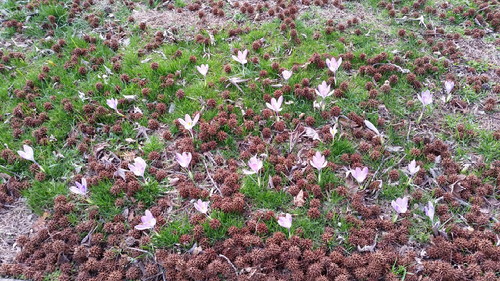
The purple croci are doing pretty well for their first year.

image

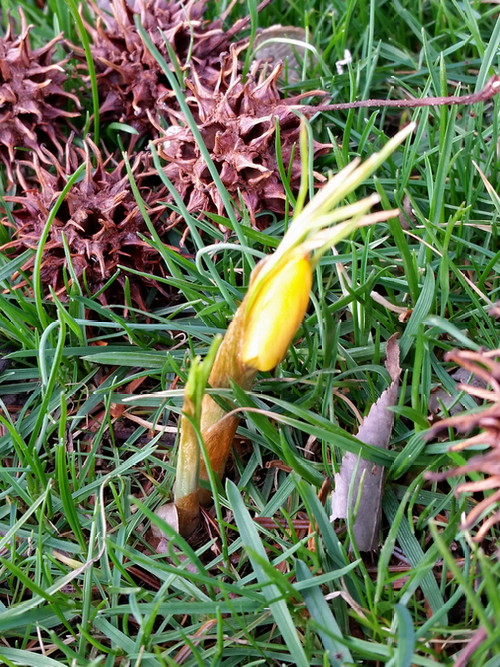
On Friday, the first yellow crocus was still closed.

image

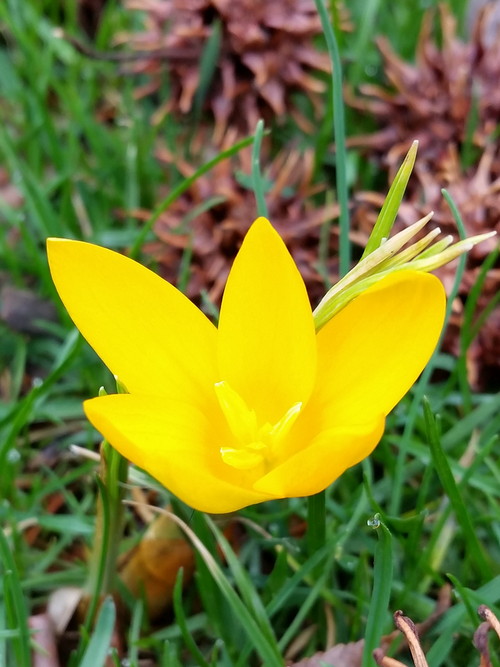
Yesterday, in spite of the grey weather, it opened.

image

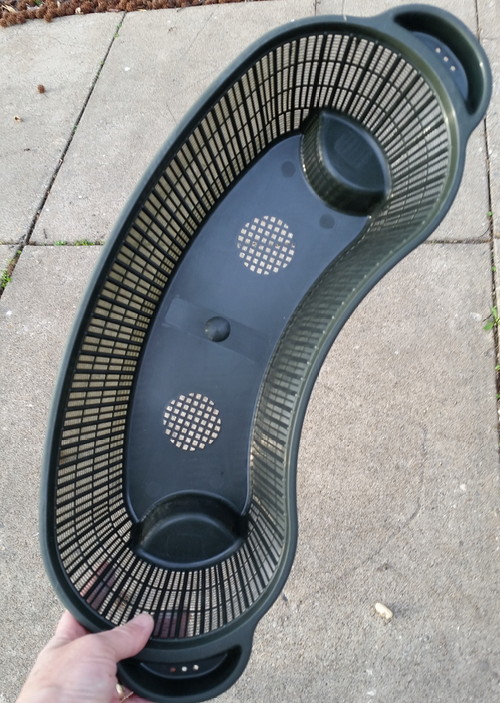
At long last, I have my very expensive kidney-shaped pond pot!

image

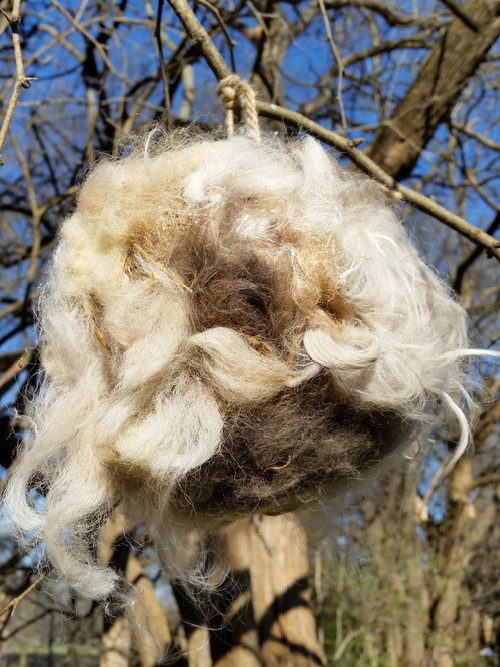
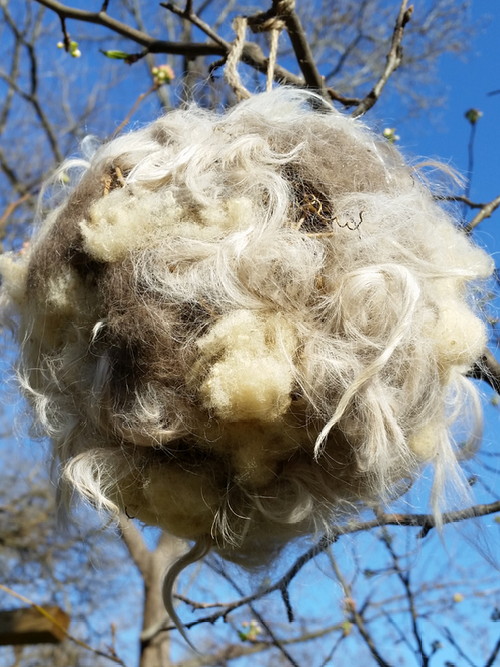
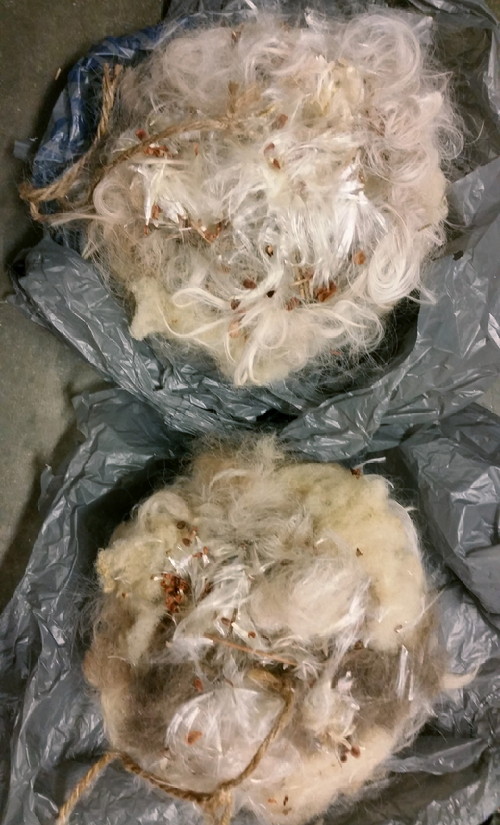
What better way to spend a Saturday night than stuffing grapevine balls with alpaca fleece, sheep’s wool, washed cat hair, and milkweed fluff?
image

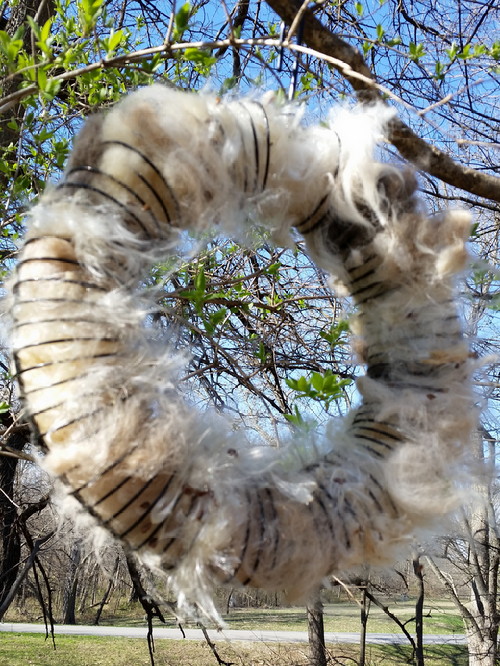
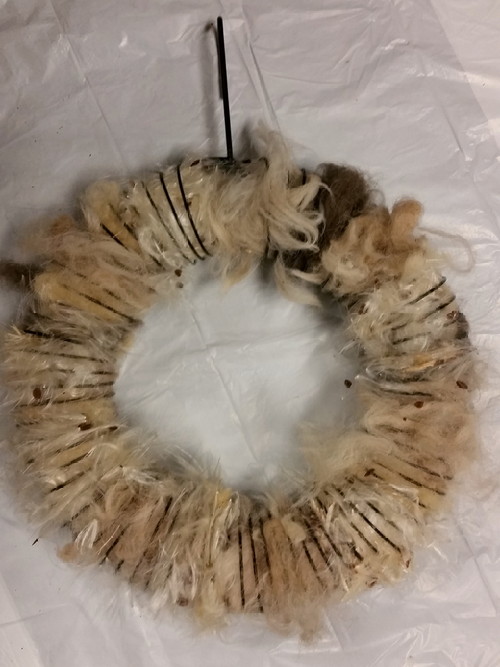
The Bloos were too lazy to get their peanuts out of this wreath, but it made a good nest lining material holder!
image

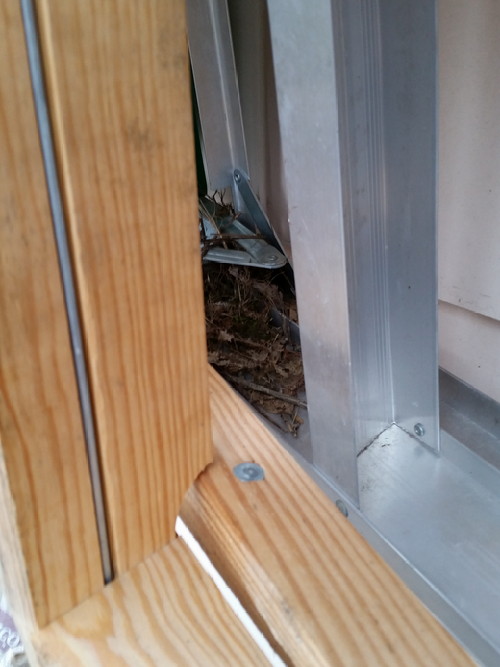
P.S. This might be a decoy nest, but if it isn’t, we’d better hope we don’t need our stepladders until the Carolina Wren chicks are fully fledged! I enjoyed watching those little birds, hauling bits of sticks and leaves in there. Cute!
image

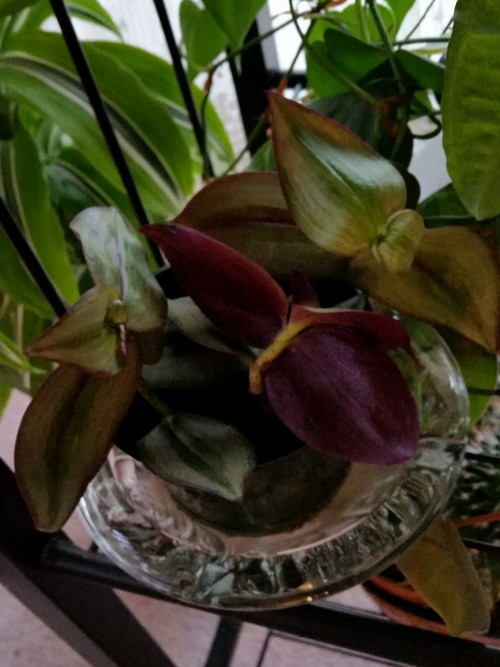
Thanks to the fancy multi-species pots at Buchheit,  careless shoppers,  and the brittle-stemmed habit of Tradescantia zebrina, I got a free plant. Three bits is enough as long as I don’t let it dry out!

image